Brooder Set Up
Hi there. So let's say that you have booked a Hatching Chicks program and it has arrived - what do you need to do and when?
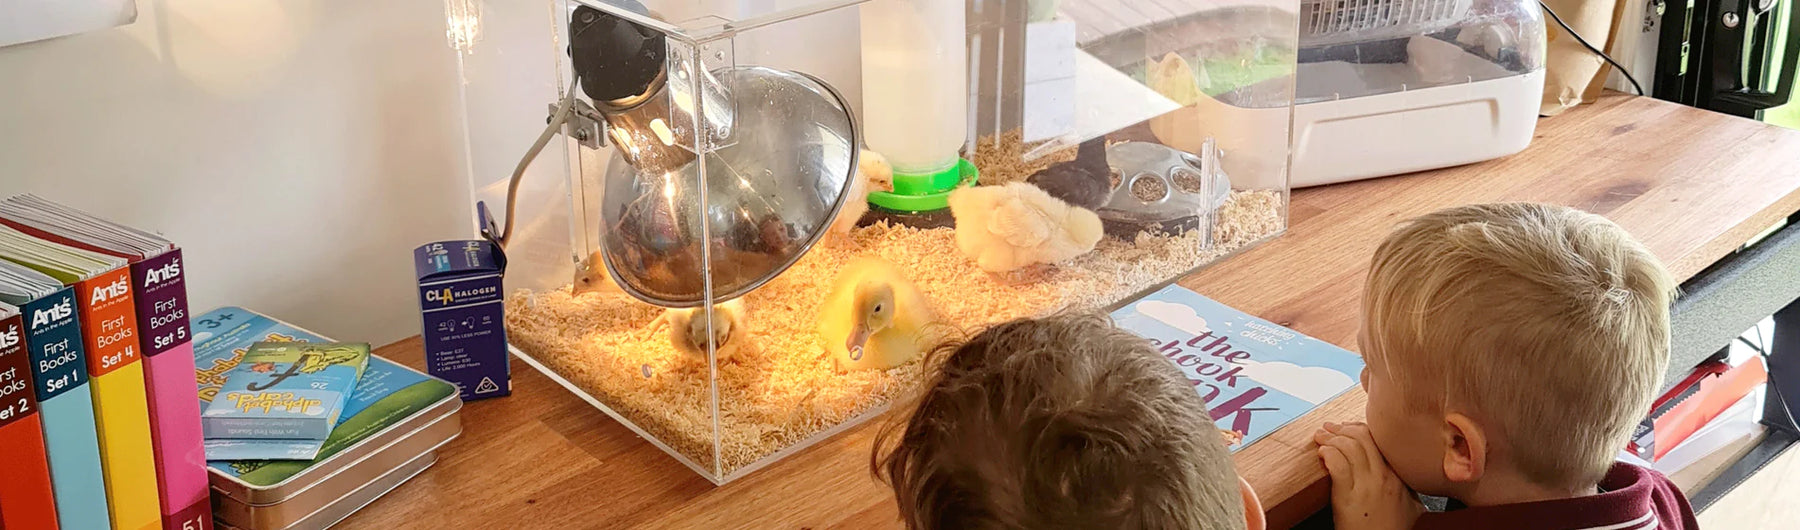
Under normal circumstances the driver will arrive and set up the brooder and the hatcher, ensure that everything is in the correct place, provide you with some verbal instructions and then leave with a cheerio.
Now that the driver is gone the question is - what do you need to do and when?
Again, under normal circumstances the first chicks will be ready to leave the hatcher and move into the brooder on Tuesday. Chicks are ready to make the move when their down is fully dry, they are walking around confidently on their legs and they will often be pecking at the sides of the hatcher.
However, don’t feel under any pressure to make the move on Tuesday afternoon - chicks can easily survive for 2-3 days after the hatch without food or water. This is how commercial hatcheries ship chicks around the country without loss. During this time the chicks are still using the nutrients remaining from their yolk sac.
So in other words sometimes it makes sense to move the first chicks from the Hatcher to the Brooder on Tuesday, and sometimes on Wednesday morning. Each subsequent chick should also be moved 24 - 48 hours after hatching.
So how do you know what is the correct temperature inside the brooder? Well, the best way to tell whether the box is too warm or too cold is to watch the behaviour of the chicks. If they are too cold they'll huddle together and sit right underneath the heat lamp. If you see them do this, make sure the lid is properly closed and if it is winter then put a blanket over the top, back and sides of the brooder to keep the warmth inside.
If they are too warm then they will move away from the heat lamp - if it is summer where you are you can turn off the heat lamp for a while during the day but keep it on at night. You may also get a good result by opening the lid in part to encourage more airflow. Ideally you are aiming for a temperature of over 25 degrees - closer to 30 degrees to keep them comfortable.
You will know that they're comfortable when they're just milling around anywhere inside the box. If some chicks are under the heat lamp, some eating and some just laying around then they are in a good environment.
Now that we have discussed how to keep them warm, the next stage is how to maintain cleanliness. The most important thing to know here is that the older they get, the more mess they make. However, conversely, when they are just born they hardly make any mess at all. So in the first week there will be hardly any cleaning to do at all, but in the second week it will get quite messy. It is important therefore to have the correct mindset and not be surprised that things get messier as we go along.
Always keep some newspaper on the bottom of the box and then wood shavings on top of that. The reason for the newspaper is that it does absorb some water spills but more importantly it keeps the mess together and makes the brooder easier to clean. You don’t ever need to disinfect or wash out the brooder box but you do need to change the newspaper and wood shavings when it starts to smell. And here is a pro tip - don’t be lazy - take out the shaving and the newspaper and replace with clean items. If you just add dry wood shaving on top of the wet ones you will have done nothing other than waste your time - adding dry wood shavings to a messy brooder just results in a messy brooder with more mess. Please don’t waste your time and do it properly.
Just an aside - if you think I am being a bit touchy about the whole cleaning thing I have seen many people just put clean wood shavings over dirty wood shaving expecting the smell and mess to just disappear. Think of it this way - if you have a house cat which uses a litter tray then once the tray is full you empty it before putting in new litter. What's good for the cat is good for the chicks.
You'll receive a 5 litre bag of wood shavings in your kit which is plenty. Put about 2-3 handfuls of shavings into the brooder each time and don't worry about changing it until it smells which does not happen very often in the first week but will in the second. When it comes time to change the litter just put all the chicks in another little box whilst you are working with the brooder.
You’ll notice that the chicks mainly just sleep in the first week - they don't eat, drink or poop all that much. In the second week they will be a lot more active and this will be the best time to interact with them.
You will also have about 1.5kgs of feed which is plenty of feed for two weeks. The key here is not to overfill the feeding tray and waste feed. When the hatchlings scratch some wood shavings into the food dish just brush them away rather than throwing out all the feed. The feed only needs to be thrown out if it gets wet or has poop in it.
The water container just gets filled up with cold water and then screw the base onto the reservoir.
If you have any unhealthy chicks try and keep them with all the others but sometimes they can get trampled by the others. If that is the case consider separating them for a while or perhaps place them back in the warmed hatcher for a little while with food and water until they get their strength.
You will also have been provided with a spare light bulb in case the light globe in the heat lamp fails.